DYI Projects > Tile a BacksplashMemorial Day DIY Project: Tile a Backsplash
Let's tile a backsplash! When it comes to tiling a backsplash over Memorial Day, this simple DIY contractor project can leave your home with amazing benefits that you probably have never thought about.
Benefits to Tiling a Backsplash
We've listed the top benefits to tiling a backsplash, and they include:
- A tiled backsplash not only looks stylish, but it can also act as an important barrier against liquids that could otherwise cause damage. Having a protective layer between the wall and countertops helps keep your kitchen or bathroom clean and hygienic with minimal effort required to maintain its beauty.
- Transform your kitchen or bathroom with a backsplash tiling project! Not only will it add color, texture, and depth to the space, but it can also dramatically improve its visual appeal as well as increase your home's value.
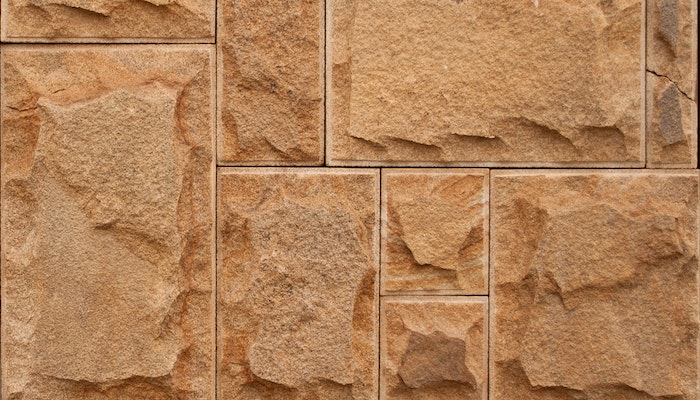
- For an elegant and timeless look, consider adding a tile backsplash to your kitchen. Being highly resistant to heat, moisture, scratches, chips, and heavy use, it's the perfect choice if you're looking for durability that will last a long time!
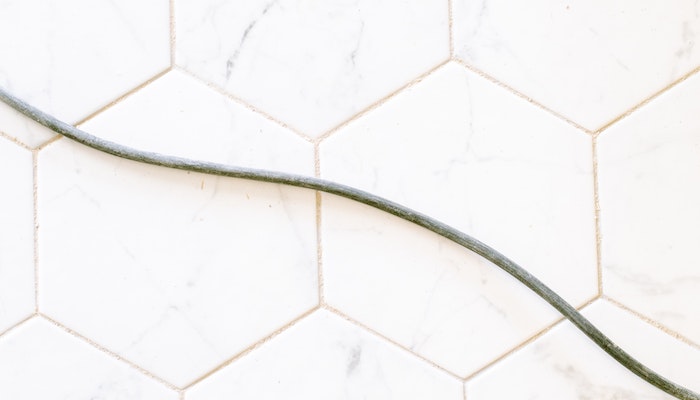
- With its dazzling range of colors, patterns, and sizes, tile offers limitless possibilities for customizing your backsplash to reflect your unique style. From ceramic or porcelain to natural stone, the choice is yours! Let a stunning tiled creation bring color and flair into your kitchen today.
- Reducing your cleaning time has never been easier! A tiled backsplash gives you a hygienic, stylish look while requiring only minimal effort to maintain. You can quickly wipe it clean with soap and water or use gentle solutions for regular maintenance, so inviting guests over no longer requires hours of scrubbing away the evidence.
Ok, so now you know the benefits of tiling a backsplash, it's time to actually get to work!
How to Tile a Backsplash
Don't over think this! DIY projects like tiling a backsplash can be a simple and straightforward process. But first things first, let's gather the contractor materials and contractor tools needed to get this project completed correctly. Below, find the materials needed to easily tile a backsplash.
Contractor Materials Needed
- Tiles
- Tile Adhesive
- Grout
- Tile Spacers
- Tile Cutter
- Trower
- Level
- Sponge
- Tile Sealer
- Gloves and safety glasses
- A measuring tape and a pencil.
You can also check out this list of contractor tools to make sure you have everything you need.
Now that you have the contractor materials and tools, let's move to the fun part- actually tiling a backsplash. Follow the simple contractor steps below and you'll be finished in no time.
Steps to Tiling a Backsplash
Keep in mind that these steps to tile a backsplash may vary depending on the size of your project. Ready? Ok, let's do this!
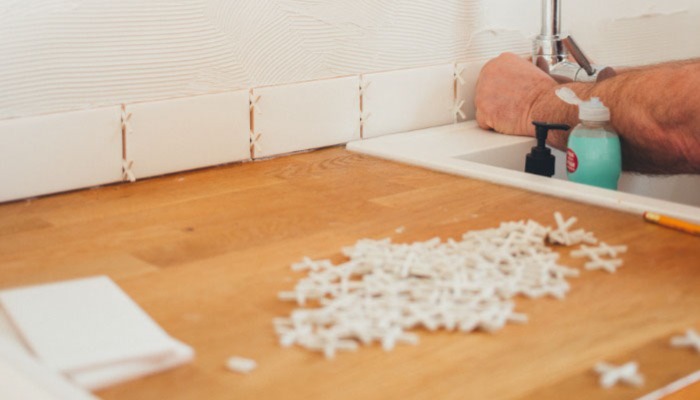
- To ensure the perfect tile installation, begin by adequately preparing your surface. Carefully remove any unwanted dirt or old adhesives and use sandpaper to create a rough texture if painting is present; this will help those tiles really stick!
- Before embarking on your tiling adventure, be sure to plan ahead for success! Measure the height and width of what will soon become a work of art. Take note: precision is key as you use tile spacers with a level and straightedge to mark out an even centerline in preparation for laying down each individual masterpiece.
- Use a notched trowel to carefully spread the adhesive over the area where you'd like to install tiles, transforming any room in no time.
- Carefully place the tiles on your chosen surface, making sure to press them in firmly for maximum adhesion. Place tile spacers between each one so they have proper distance from their neighbors; snip any needed pieces as you go along edges or around obstacles like electrical outlets! The end result will be worth it.
- For secure adhesion, ensure the adhesive you're using has adequate time to set; this could range from a few hours for smaller projects or up to an entire day if it's something more substantial.
- Create a strong bond between tiles with carefully prepared grout. Start by mixing the contents of the package according to instructions, and then spread it across each gap using a specialized float for an optimal finish. Finally, use your damp sponge to gently remove any excess material and reveal beautiful tilework!
- After giving the grout time to settle and harden, use a damp sponge for an ultimate clean that will leave your tiles shining! Once all of the water dries off completely, it's time to safeguard them with some tile sealer; this is essential in protecting against pesky stains and moisture.
Conclusion
This amazing contractor DIY project of tiling a backsplash checks both boxes of being very rewarding and a DIY project that can be completed over Memorial Day weekend. As long as you have the contractor supplies you need and follow the steps above, your finish this project successfully.
You got this! And if anything, you can always hire a contractor if the contractor project becomes too overwhelming.