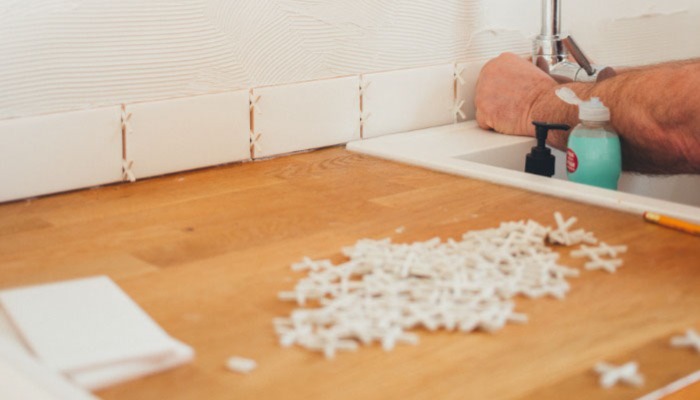
DYI Projects > Install Peel And Stick Vinyl TilesMemorial Day DIY Project: Install Peel and Stick Vinyl Tiles
Let's install peel and stick vinyl tiles! When it comes to installing peel and stick vinyl tiles over Memorial Day, this simple DIY flooring project can leave your home with amazing benefits that you probably have never thought about.
Benefits to Installing Peel And Stick Vinyl Tiles
We've listed the top benefits to installing peel and stick vinyl tiles, and they include:
- Easy installation - Transform your space with ease using peel-and-stick vinyl tiles. With minimal preparation or tools required, the installation process is quick and convenient—perfect for DIY beginners or those short on time.
- Cost-effective - Upgrade Your Flooring Affordably with Peel and Stick Vinyl Tiles. Affordable and stylish, these tiles are a great option for those on a budget, providing gorgeous floors without breaking the bank.
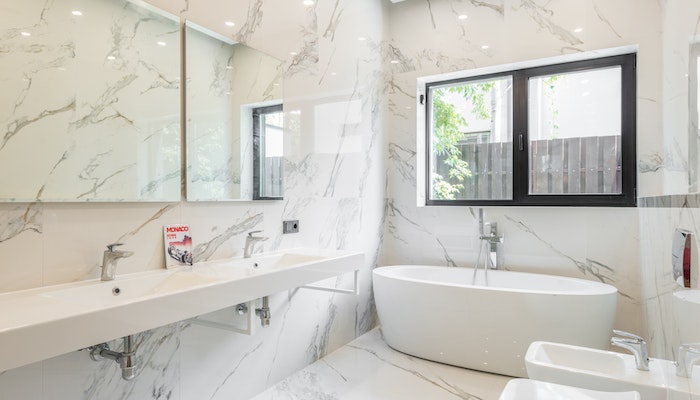
- Low maintenance - Get hassle-free flooring with vinyl tiles! Simply sweep or mop regularly to keep them looking clean. Plus, enjoy water-resistant properties that make them perfect for busy areas like kitchens and bathrooms.
- Durable - Discover why vinyl tiles are an excellent choice for high-traffic areas. Resistant to scratches, dents, and stains, they can handle daily wear and tear with ease. Count on their durability to last for years to come.
- Versatile - Transform your home with versatile vinyl tiles, available in an array of colors, styles, and patterns to perfectly complement any décor.
- Easy to replace - Replace a damaged vinyl tile without having to redo the entire floor! Easy, cost-effective maintenance that makes a difference.
- Comfortable - Step onto soft and comfortable vinyl tiles for long kitchen cooking sessions. Unlike other hard flooring options, vinyl tiles provide a gentler surface that lets you stand for hours without the discomfort.
Ok, so now you know the benefits of installing peel and stick vinyl tiles, it's time to actually get to work!
How to Install Peel And Stick Vinyl Tiles
Don't over think this! DIY projects like installing peel and stick vinyl tiles can be a simple and straightforward process. But first things first, let's gather the flooring materials and flooring tools needed to get this project completed correctly. Below, find the materials needed to easily install peel and stick vinyl tiles.
Flooring Materials Needed
- Peel and stick vinyl tiles
- Utility knife or vinyl tile cutter
- Measuring tape
- Straight edge or chalk line
- Floor preparation materials
- Primer
- Adhesive
- Rolling pin
- Transition strips
- Safety equipment
Now that you have the flooring materials and tools, let's move to the fun part- actually installing peel and stick vinyl tiles. Follow the simple flooring steps below and you'll be finished in no time.
Steps to Installing Peel And Stick Vinyl Tiles
Keep in mind that these steps to install peel and stick vinyl tiles may vary depending on the size of your project. Ready? Ok, let's do this!
- Get Your Floor Ready - Ensure It's Clean, Dry, and Debris-Free. Even Out Any Imperfections with Sandpaper or Filler if Needed.
- Plan and Measure - Determine the area you want to tile and strategically plan where to place them. Begin in the middle of the room and gradually work outward for optimal results.
- Cut the tiles - Use a utility knife or vinyl tile cutter with a template to cut tiles around edges and obstacles.
- Lay the tiles - Lay tiles in a grid pattern starting at the room's center, using a chalk line for straight lines and small gaps between tiles for expansion.
- Firm Adhesion - Peel backing and press tiles firmly on the floor. Eliminate air pockets with a rolling pin.
- Keep Going - Continue laying tiles in a grid pattern, working outward from the center of the room.
- Create flawless edges - Perfectly fit the tiles along the room's edges by measuring and cutting them with precision.
- Smooth transitions - Achieve a seamless transition between your vinyl tiles and adjacent flooring by installing transition strips where appropriate.
- Polished finish - Achieve a smooth and polished finish by using a floor roller to ensure full adhesion of all tiles. Don't forget to clean up excess adhesive and debris for a flawless look.
Conclusion
This amazing flooring DIY project of installing peel and stick vinyl tiles checks both boxes of being very rewarding and a DIY project that can be completed over Memorial Day weekend. As long as you have the flooring supplies you need and follow the steps above, your finish this project successfully.
You got this! And if anything, you can always hire a floor installer if the flooring project becomes too overwhelming.