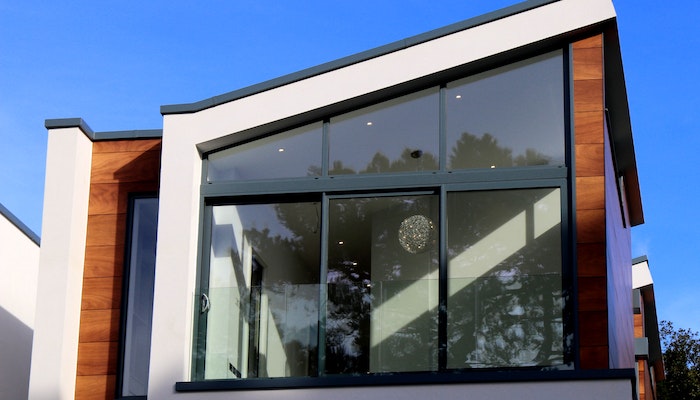
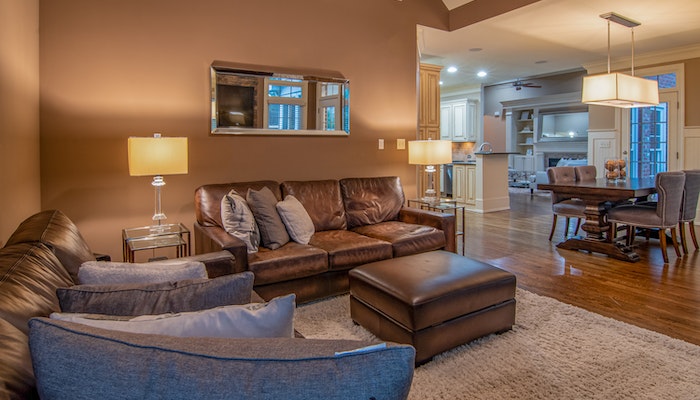
Let's add privacy film to your windows! When it comes to adding privacy film to your windows over Memorial Day, this simple DIY window tinting project can leave your home with amazing benefits that you probably have never thought about.
- Enhanced Privacy: As the name implies, the main advantage of privacy film is that it blocks views into a space, allowing the occupants to feel private from watchers or bystanders.
- UV Protection: Many privacy films filter out up to 99% of UV radiation, preventing skin damage and preventing indoor furniture from deteriorating.
- Glare Reduction: These films can also lessen the amount of sunlight that enters a room, which lessens screen glare and improves the comfort of the environment.
- Energy Savings: The quantity of heat that enters a building can be reduced in the summer and retained in the winter by using privacy films as insulators. This may lower the cost of energy.
- Safety: Certain privacy films can assist hold fragments of glass together in window breakage situations, lowering the chance of injuries.
- Aesthetic Appeal: The appearance of windows can be improved by using one of the many available styles and treatments, such as tinted, frosted, or patterned films.
- Easy Maintenance: Privacy film is extremely simple to keep clean, in contrast to some window coverings, which might be challenging to do so.
- Affordability: Privacy films might be a more affordable option than custom-etched or frosted glass when trying to accomplish the same result.
- Temporary Solution: Because privacy film can be removed without harming the window, it might be a great option for renters or people who change their minds regularly.
- Increased Comfort: Rooms can maintain a more constant temperature and provide more comfortable living or working areas by shielding excessive sunlight.
- Reduced Fade Damage: Privacy films shield carpets, drapes, and furniture from the sun's fading effects by obstructing UV radiation.
- Protection from Prying Eyes: Privacy films can stop potential criminals from readily looking into a building's interior in places like workplaces or homes.
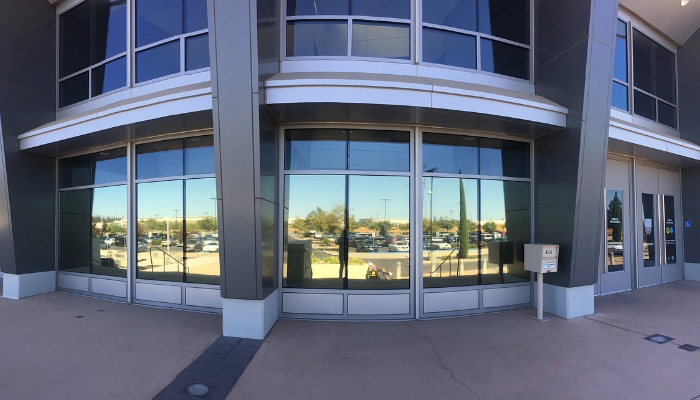
Affordable Windows in Phoenix recommends adding privacy film to your windows as an excellent way to enhance both privacy and aesthetics in your home or office. This film allows natural light to enter while obscuring the interior view from the outside, offering an affordable alternative to frosted or etched glass. Additionally, many privacy films provide UV protection, reducing sun damage to furniture and floors, and can add an extra layer of insulation, contributing to energy efficiency.
Ok, so now you know the benefits of adding privacy film to your windows, it's time to actually get to work!
How to Add Privacy Film To Your Windows
Don't over think this! DIY projects like adding privacy film to your windows can be a simple and straightforward process. But first things first, let's gather the window tinting materials and window tinting tools needed to get this project completed correctly. Below, find the materials needed to easily add privacy film to your windows.
Now that you have the window tinting materials and tools, let's move to the fun part- actually adding privacy film to your windows. Follow the simple window tinting steps below and you'll be finished in no time.
Conclusion
This amazing window tinting DIY project of adding privacy film to your windows checks both boxes of being very rewarding and a DIY project that can be completed over Memorial Day weekend. As long as you have the window tinting supplies you need and follow the steps above, your finish this project successfully.