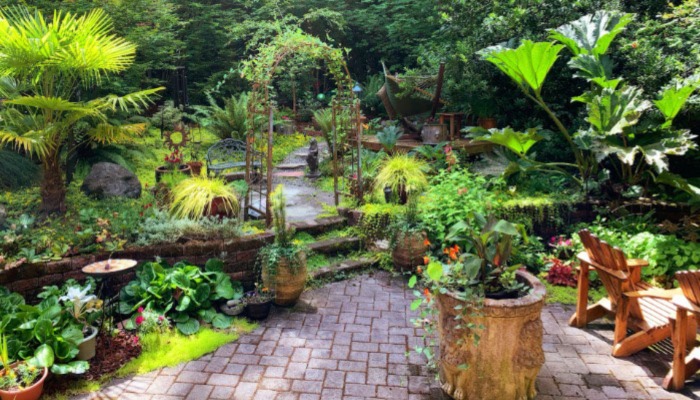
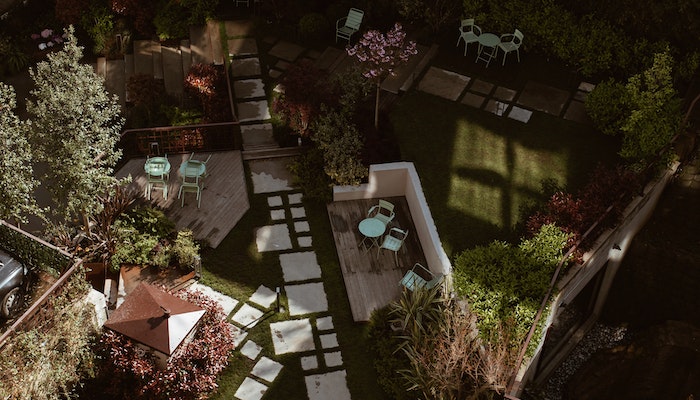
DYI Projects > Create A Classic Brick WalkwayMemorial Day DIY Project: Create a Classic Brick Walkway
Let's create a classic brick walkway! When it comes to creating a classic brick walkway over Memorial Day, this simple DIY paving project can leave your home with amazing benefits that you probably have never thought about.
Benefits to Creating A Classic Brick Walkway
We've listed the top benefits to creating a classic brick walkway, and they include:
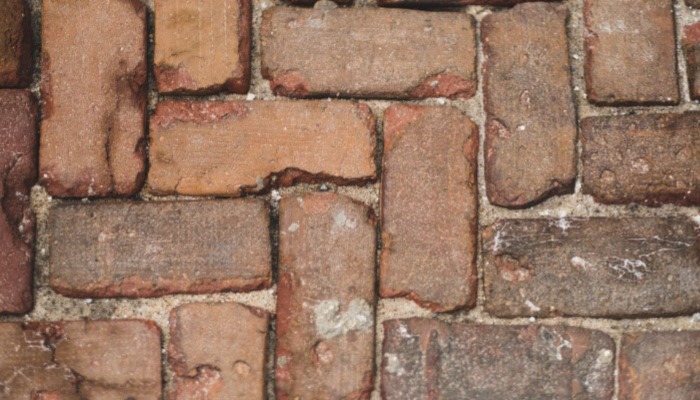
- Timeless appeal - For centuries, brick has been the go-to building material for creating unforgettable walkways. With its timeless and elegant appearance, it's no wonder why it remains a classic choice.
- Durability - Tough as nails, brick endures harsh weather and heavy foot traffic. Expect it to last even with daily use.
- Low maintenance - Install a brick walkway with ease and enjoy low maintenance. The bricks are hassle-free and need minimal cleaning without the need for constant sealing.
- Versatility - With a diverse selection of colors, textures, and sizes, bricks offer endless possibilities for designing spaces that reflect your unique style and aesthetic.
- Increased property value - Transform your curb appeal and boost your property's value with a beautifully crafted and properly maintained brick walkway.
- Easy installation - Make your dream of a beautiful brick walkway a reality with options for both DIY and professional installation.
- Safety - Step Safely: Brick Walkways Prevent Slips and Trips
- Sustainable - Eco-friendly Bricks: Made from natural materials like clay or shale, these bricks can be recycled or repurposed once they've lived their full lifespan.
Ok, so now you know the benefits of creating a classic brick walkway, it's time to actually get to work!
How to Create A Classic Brick Walkway
Don't over think this! DIY projects like creating a classic brick walkway can be a simple and straightforward process. But first things first, let's gather the paving materials and paving tools needed to get this project completed correctly. Below, find the materials needed to easily create a classic brick walkway.
Paving Materials Needed
- Bricks
- Sand
- Gravel
- Edging material
- Landscape fabric
- Tools
- Safety gear
- Optional
You can also check out this list of paver tools to make sure you have everything you need.
Now that you have the paving materials and tools, let's move to the fun part- actually creating a classic brick walkway. Follow the simple paving steps below and you'll be finished in no time.
Steps to Creating A Classic Brick Walkway
Keep in mind that these steps to create a classic brick walkway may vary depending on the size of your project. Ready? Ok, let's do this!
- Plan the walkway - Design your ideal walkway by specifying the location and size, and produce a layout plan for the bricks.
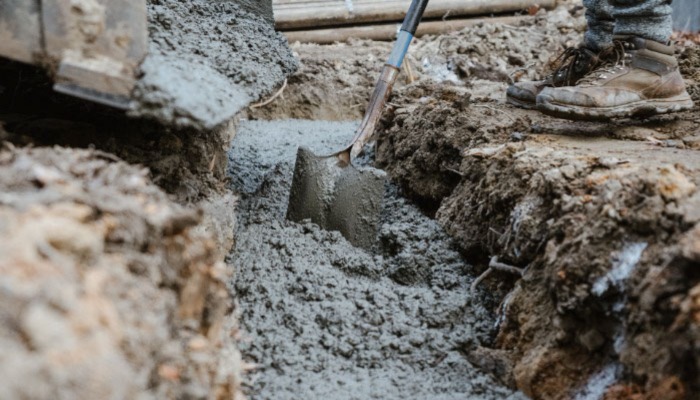
- Prepare the area - Revamp the landscape by eradicating all plants, rubble, and worn-out walkway materials. Dig up to a depth of approximately 6 inches for a fresh start.
- Install the edging - Create a sleek border for your walkway while keeping your bricks perfectly in place by installing edging material along the sides.
- Lay the gravel - Create a sturdy foundation by pouring gravel onto the area and evenly spreading it. Then, use a tamper to compress the gravel for added stability.
- Lay the sand - Create a smooth surface by applying a layer of sand and distributing it evenly over the gravel bed. Employing a long board or screed, level the sand for optimum results.
- Install the bricks - Build your perfect walkway by starting with the installation of bricks at the designated starting point. Easily create your desired pattern or layout while ensuring a perfect fit by using a masonry saw to cut any necessary bricks.
- Level the bricks - Get picture-perfect brickwork by using a level to guarantee that each brick is flush and level with the neighboring blocks. Don't forget to tweak the sand as necessary to make a seamless surface.
- Fill the joints - Get a smooth, even finish for your brickwork by filling in the joints with sand or jointing compound once you're done laying the bricks. Simply sweep the material thoroughly into the joints with a broom and follow up by using a tamper to compact it all together.
- Optional - Protect and Stabilize Your Bricks: Apply Sealer or Jointing Sand.
- Enjoy the walkway - Ready to step on and enjoy: walkway is ready once sand or compound settles.
Conclusion
This amazing paving DIY project of creating a classic brick walkway checks both boxes of being very rewarding and a DIY project that can be completed over Memorial Day weekend. As long as you have the paving supplies you need and follow the steps above, your finish this project successfully.
You got this! And if anything, you can always hire a paver if the paving project becomes too overwhelming.
Need another quick DIY project? Check out this popular DIY paving project when you are ready!