DYI Projects > Patch Holes Around Your HouseMemorial Day DIY Project: Patch Holes Around Your House
Let's patch holes around your house! When it comes to patching holes around your house over Memorial Day, this simple DIY drywall project can leave your home with amazing benefits that you probably have never thought about.
Benefits to Patching Holes Around Your House
We've listed the top benefits to patching holes around your house, and they include:
- Improved appearance - Make your walls and ceiling look smooth and flawless by patching up those unwanted blemishes. Improve the appearance of your space instantly with these simple tips.
- Increased home value - If you're looking to improve your home's resale value, patching up holes might be a simple yet effective solution. Not only will it make your home more appealing to potential buyers, it will also enhance its overall visual appeal.
- Improved air quality - Small holes in your walls or ceilings may seem insignificant, but they can have a major impact on your home's energy efficiency and air quality. When left unaddressed, these little gaps can cause drafts and contribute to unhealthy indoor air. Fortunately, patching these holes is quick and easy. Not only will it improve your home's overall energy efficiency, but it will also enhance the quality of the air you breathe. Say goodbye to drafts and hello to a comfortable, healthy home with these simple fixes.
- Pest prevention - Pests can easily enter your home through holes in the walls or ceilings, opening the door for rodents, spiders and insects. Filling those gaps and crevices is one of the easiest steps you can take to protect your home from unwanted pests.
- Reduced noise - f you've ever noticed unwanted noise in your home, it could be due to holes in the walls or ceilings. These gaps allow sound to pass through more easily, creating greater noise pollution throughout your living space. Fortunately, patching up these holes can make a big difference in reducing sound transmission and creating a more peaceful environment.
- Reduced energy bills - Those holes in your walls or ceilings might be costing you more than you think. Don't let drafts and air leaks drive up your heating and cooling bills. Patching those holes is a simple and effective solution that can save you money in the long run. Improve your home's energy efficiency and cut down on those pesky drafts with a quick and easy fix.
- Improved safety - Don't risk accidents in your home due to gaping holes and breaches in your walls and ceilings. Be proactive and safeguard your environment. Promptly mend punctures to steer clear of safety hazards and optimize protection.
- Protects from moisture - Small holes in your walls or ceilings may seem insignificant, but they can actually cause significant damage and mold growth. Moisture seeps into these holes and wreaks havoc on your home.
- Helps with decorating - Make your home decorating process hassle-free by filling those unwanted holes. Patching holes gives a seamless and even surface, making it easier to work on and turn your house into a beautiful abode.
- Improves insulation - Patching holes in your walls or ceilings can boost their insulation and enhance your home's energy efficiency. You'll stay cozy in winter and cool in summer.
Ok, so now you know the benefits of patching holes around your house, it's time to actually get to work!
How to Patch Holes Around Your House
Don't over think this! DIY projects like patching holes around your house can be a simple and straightforward process. But first things first, let's gather the drywall materials and drywall tools needed to get this project completed correctly. Below, find the materials needed to easily patch holes around your house.
Drywall Materials Needed
- Patching compound
- Sandpaper
- Putty knife or scraper
- Drywall tape (if needed)
- Paint and primer
- Paintbrush or roller
- Dust mask
- Drop cloth
- Utility knife or scissors
- Ruler or tape measure
Now that you have the drywall materials and tools, let's move to the fun part- actually patching holes around your house. Follow the simple drywall steps below and you'll be finished in no time.
Steps to Patching Holes Around Your House
Keep in mind that these steps to patch holes around your house may vary depending on the size of your project. Ready? Ok, let's do this!
- Gather Materials - Make sure you have everything you need before tackling that wall repair.
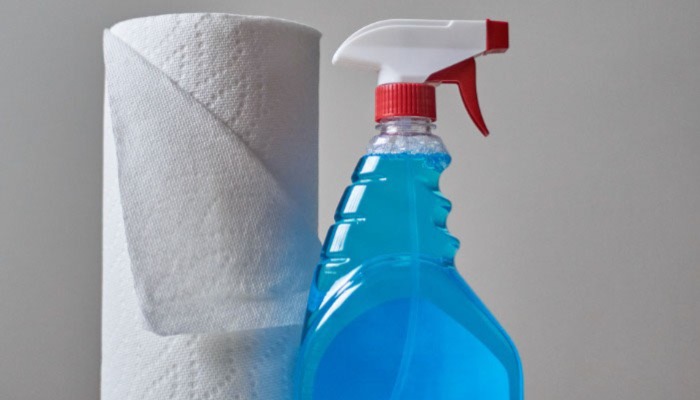
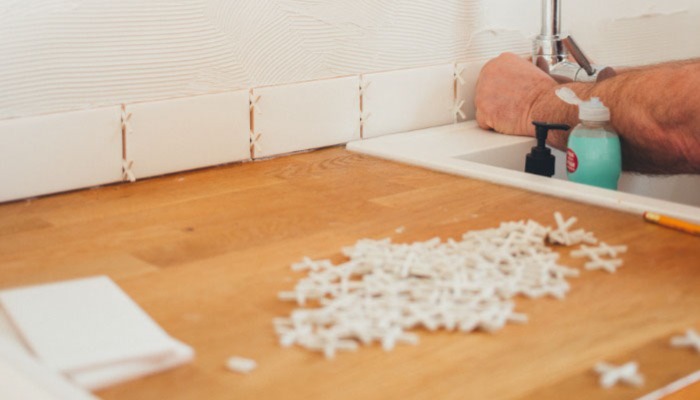
- Clean the Area - To prepare the area for repair, use a dry cloth or brush to clear away any loose debris or dust surrounding the hole.
- Prepare the Patching Compound - Simplify your patching process with these easy-to-follow instructions from the manufacturer.
- Apply the Patching Compound - Smooth out your damaged surfaces like never before with our easy-to-use patching compound. Simply apply it to the hole with a putty knife or scraper, ensuring that it fills the space completely.
- Apply Drywall Tape (if needed) - If your wall hole is bigger than a nail hole, use drywall tape to strengthen the patch. Simply cut the tape according to the dimensions of the hole and place it over the patching material.
- Sand the Patching Compound - After allowing the patching compound to dry, smooth out the surface with sandpaper until it is level with the surrounding wall or ceiling. Remember to wear a dust mask to avoid breathing in any dust particles.
- Apply Primer (if needed) - If you're painting a wall or ceiling, make sure to use a primer on any patched areas beforehand. This will ensure that the paint sticks properly. Be sure to read and follow the instructions provided by the manufacturer for the primer.
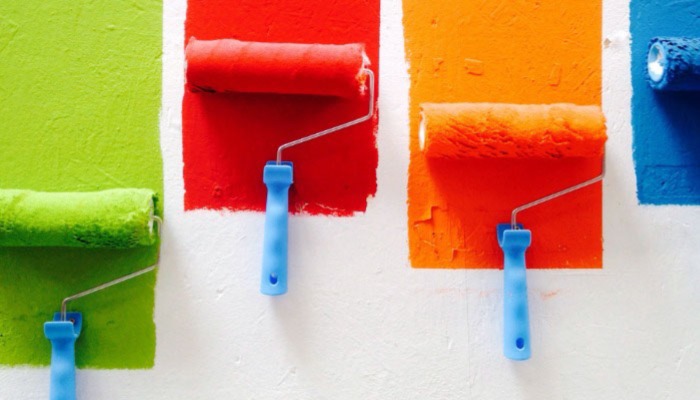
- Paint the Patched Area - Once the primer has fully dried, grab a paintbrush or roller to seamlessly coat the patched area to match the rest of the surface. Wait for the paint to dry completely.
- Sand and Paint (if needed) - If you can still see the patched area once the first coat of paint dries, gently sand it with sandpaper and administer a second layer of paint. Ensure that the paint fully dries before moving on.
- Clean Up - Clear your workspace of any dirt or debris using a dry cloth or brush. Afterwards, remove the protective covering and store any leftover materials for later.
Conclusion
This amazing drywall DIY project of patching holes around your house checks both boxes of being very rewarding and a DIY project that can be completed over Memorial Day weekend. As long as you have the drywall supplies you need and follow the steps above, your finish this project successfully.