DYI Projects > Apply Rain Repellent To Your WindshieldMemorial Day DIY Project: Apply Rain Repellent to Your Windshield
Let's apply rain repellent to your windshield! When it comes to applying rain repellent to your windshield over Memorial Day, this simple DIY auto glass project can leave your home with amazing benefits that you probably have never thought about.
Benefits to Applying Rain Repellent To Your Windshield
We've listed the top benefits to applying rain repellent to your windshield, and they include:
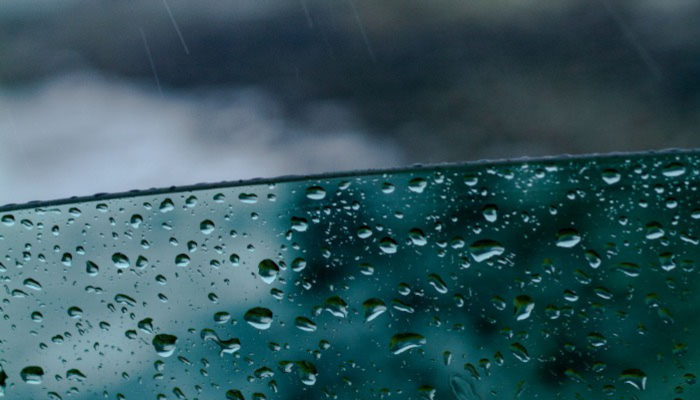
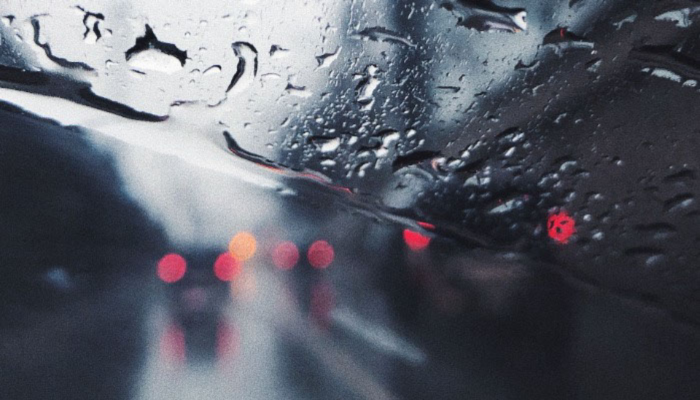
- Improved visibility - Rain repellent products make rainy weather a breeze by preventing water from sticking to your windshield. Say goodbye to blurry vision and hello to safer driving.
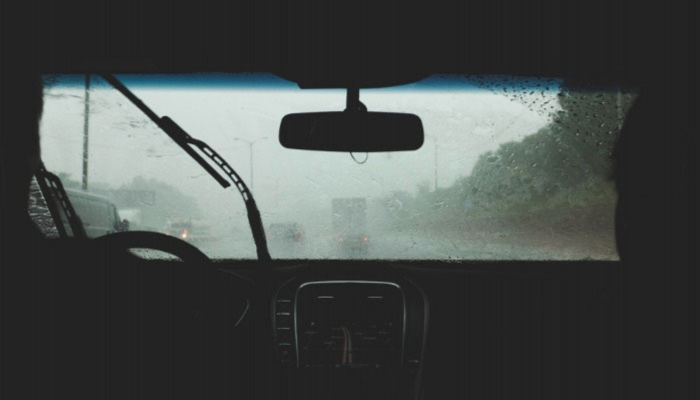
- Safer driving - Improved visibility is key to staying safe on the road, especially during heavy rain or storms.
- Reduced need for windshield wipers - By using rain repellent products, you can say goodbye to constantly using your windshield wipers during light rain. These products cause water to bead up and roll off effortlessly, keeping your windshield clear and your driving experience safer.
- Protection against stains - Rain repellent products not only keep the raindrops off your windshield, but they also shield it from dirt, dust, and other stains. This means your windshield stays clean for longer periods, saving you time and effort. Try it now!
- Enhanced lifespan of windshield wipers - By using rain repellent products, you can increase the lifespan of your wiper blades and save money by reducing the need for replacements.
- Easier ice and snow removal - Rain repellent products not only repel water but also make it effortless to clear ice and snow from your windshield by preventing water from sticking to the surface.
- Improved appearance - Revamp the look of your windshield with rain repellent products. Get cleaner, clearer visibility and never compromise your driving experience again.
Ok, so now you know the benefits of applying rain repellent to your windshield, it's time to actually get to work!
How to Apply Rain Repellent To Your Windshield
Don't over think this! DIY projects like applying rain repellent to your windshield can be a simple and straightforward process. But first things first, let's gather the auto glass materials and auto glass tools needed to get this project completed correctly. Below, find the materials needed to easily apply rain repellent to your windshield.
Auto Glass Materials Needed
- Rain repellent product
- Microfiber cloth
- Glass cleaner
- Rubber gloves
- Masking tape
Now that you have the auto glass materials and tools, let's move to the fun part- actually applying rain repellent to your windshield. Follow the simple auto glass steps below and you'll be finished in no time.
Steps to Applying Rain Repellent To Your Windshield
Keep in mind that these steps to apply rain repellent to your windshield may vary depending on the size of your project. Ready? Ok, let's do this!
- Clean your windshield - Before applying rain repellent, use glass cleaner and a microfiber cloth to thoroughly clean your windshield and remove any dirt, grime, or debris.
- Choose a suitable location - Apply our rain repellent product only in a well-ventilated area, avoiding direct sunlight or wind exposure.
- Put on gloves (if necessary) - To safeguard your skin against any harsh chemicals, consider donning a pair of rubber gloves when applying rain repellent treatments. The specific product used will determine the necessity of this safety measure, so be cautious and prioritize your well-being.
- Apply the rain repellent product - Get the most out of your rain repellent product by following these simple instructions. Apply it directly to your windshield through spraying or use a microfiber cloth to wipe it in circular motions. Enjoy better visibility on rainy days.
- Allow the product to dry - To get the maximum benefits from your rain repellent product, ensure that you let it dry up completely, just as directed by the manufacturer. Expect the drying process to take between a few minutes and an hour, depending on the product type. Don't rush the drying, as it's crucial to provide the best protection for your vehicle during downpours.
- Buff the windshield - After allowing the product to dry, get a clean microfiber cloth and wipe the windshield gently. Ensure you remove any excess product to achieve a smooth and even finish.
- Remove masking tape (if used) - If you protected surrounding areas with masking tape to avoid overspray or drips, make sure to remove it carefully once the rain repellent product has dried.
Conclusion
This amazing auto glass DIY project of applying rain repellent to your windshield checks both boxes of being very rewarding and a DIY project that can be completed over Memorial Day weekend. As long as you have the auto glass supplies you need and follow the steps above, your finish this project successfully.