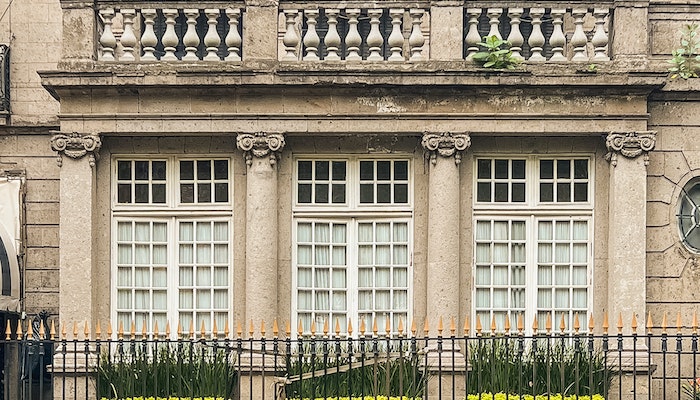
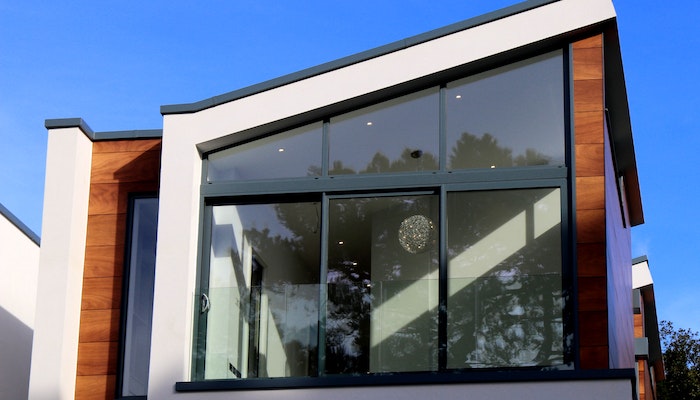
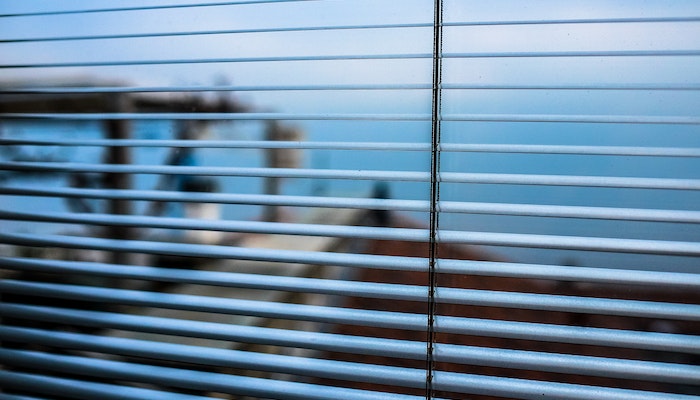
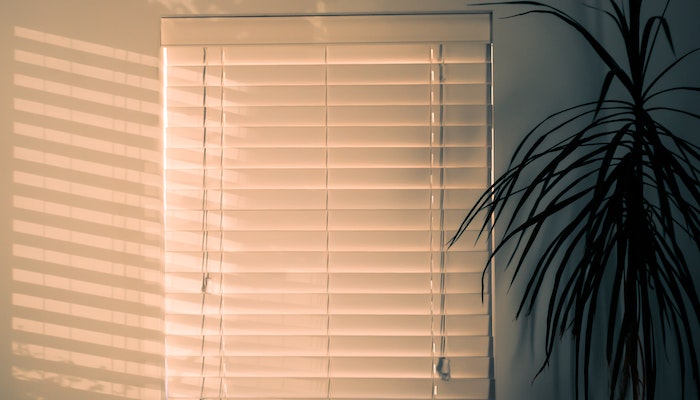
DYI Projects > Replace Your Window Blinds

Memorial Day DIY Project: Replace Your Window Blinds

Replace Your Window Blinds

Let's replace your window blinds! When it comes to replacing your window blinds over Memorial Day, this simple DIY window treatments project can leave your home with amazing benefits that you probably have never thought about.

Benefits to Replacing Your Window Blinds

We've listed the top benefits to replacing your window blinds, and they include:

  • Keep your home—and wallet—comfortable all year round with stylish new window blinds. Rigorously engineered from high-quality materials, these blinds help provide superior insulation to keep the heat in or out, depending on the season. Enjoy lower heating and cooling bills without sacrificing style or comfort.
  • Give your home a modern update with upgraded window blinds! Enjoy more control over the natural light in any room and prevent harmful UV rays from damaging furniture or creating unsightly glare. With top-of-the line options, you'll be sure to find better privacy too.
  • Installing fresh window blinds is an easy and effective way to spruce up your home's interior. From luxurious velvet hues to sleek metallic tones, take the opportunity to select a style that best reflects you!
  • With the newest window blinds, you can transform your home or office into a state-of-the-art environment with sleek cordless options and motorized controls for maximum convenience. Plus, these improved designs are more durable, so you don’t have to worry about ongoing maintenance; simply enjoy their effortless beauty!
  • Investing in new window blinds is a great way to boost the value of your home. Choose materials with superior quality and try trendy styles that potential homeowners can appreciate—you won't regret it! 

Ok, so now you know the benefits of replacing your window blinds, it's time to actually get to work!

Replacing Your Window Blinds

How to Replace Your Window Blinds

Don't over think this! DIY projects like replacing your window blinds can be a simple and straightforward process. But first things first, let's gather the window treatments materials and window treatments tools needed to get this project completed correctly. Below, find the materials needed to easily replace your window blinds.

Window Treatments Materials Needed

  • New window blinds
  • Measuring tape
  • Mounting brackets
  • Screws and anchors
  • Screwdriver
  • Level
  • Scissors

You can also check out this list of window blinds installer tools to make sure you have everything you need.

Now that you have the window treatments materials and tools, let's move to the fun part- actually replacing your window blinds. Follow the simple window treatments steps below and you'll be finished in no time.

Window Treatments

Steps to Replacing Your Window Blinds

Keep in mind that these steps to replace your window blinds may vary depending on the size of your project. Ready? Ok, let's do this!

  • Before you invest in new blinds, make sure to measure your window carefully! Take three measurements—top, middle, and bottom—for a more accurate reading of the size you need. It's essential that these figures are correct, so don't skimp on measuring twice (or even thrice!) before making any purchases.
  • To give your windows a fresh new look, start by unscrewing any mounting brackets or clips that are keeping the blinds securely in place. Gently pry away any screws and anchors to free up the old window coverings before taking them off for good!
  • Installing your blinds just got easier. Secure the mounting brackets with screws and anchors to the frame or wall top of your window. Make sure they're snugly in place so you can enjoy those new shades without a fuss!
  • Install the latest window coverings with ease! Fit your new blinds into their respective mounting brackets and secure; just remember to follow the steps included in the manufacturer's guide. Now, you can enjoy full control over how much light filters through without a hassle.
  • Make sure to give your new blinds a thorough inspection! Pull them up and down, ensuring that the slats move smoothly along their tracks. If necessary, take some time to get the cords at just the perfect length for delightful operation.
  • Complete the setup with flair—attach your desired hardware to bring it all together, such as a stylish valance or bottom rail!
  • After installation, make sure to clear away any remaining construction materials and debris for a neat and tidy finish.

Dan from Rapid Blinds in Scottsdale mentions that before embarking on the installation of your personally crafted window blinds, it is extremely important to ensure the accuracy of your window measurements. Both the horizontal and vertical dimensions of your window frame must be accurately measured, and it is crucial to verify your measurements for their veracity. This meticulous attention to detail will avert any potential inconveniences related to ill-fitting blinds in the future.

Conclusion

This amazing window treatments DIY project of replacing your window blinds checks both boxes of being very rewarding and a DIY project that can be completed over Memorial Day weekend. As long as you have the window treatments supplies you need and follow the steps above, your finish this project successfully.

You got this! And if anything, you can always hire a window blinds installer if the window treatments project becomes too overwhelming.

Need another quick DIY project? Check out this popular DIY window treatments project when you are ready!

Support Veteran Businesses

Veteran Businesses
diy project

Popular Memorial Day DIY Projects