Let's add epoxy flooring to your garage floor! When it comes to adding epoxy flooring to your garage floor over Memorial Day, this simple DIY epoxy project can leave your home with amazing benefits that you probably have never thought about.
- Durability: Epoxy flooring is renowned for being tough. Heavy tools, dropped objects, and the normal wear and tear that comes with garage activities can all be used without damaging them.
- Long-Lasting: Epoxy flooring, when done correctly, can survive for many years without peeling or breaking.
- Resistant to Stains: Epoxy flooring is simpler to clean and maintain since it resists chemicals found in typical garage environments, such as oil, brake fluid, gasoline, and antifreeze.
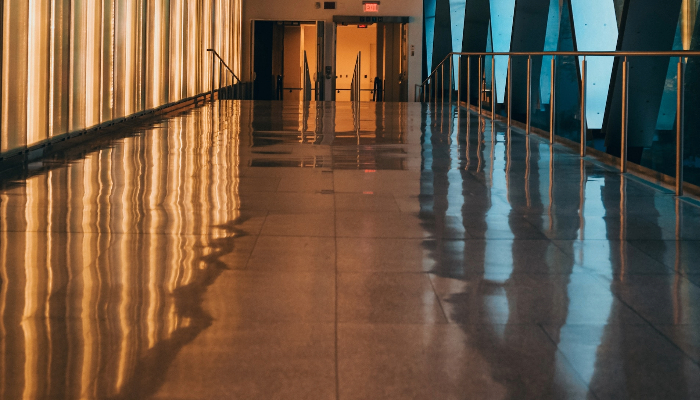
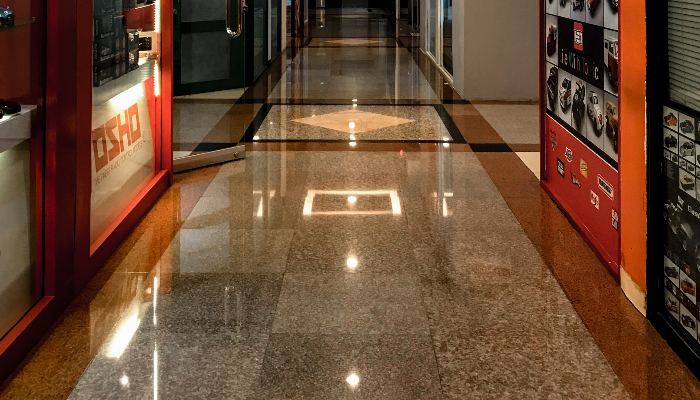
- Enhanced Appearance: Epoxy creates a high-gloss, sparkly surface that can greatly boost an interior space's brightness. The garage can be transformed from a drab, gray place into a welcoming environment thanks to its polished and professional appearance.
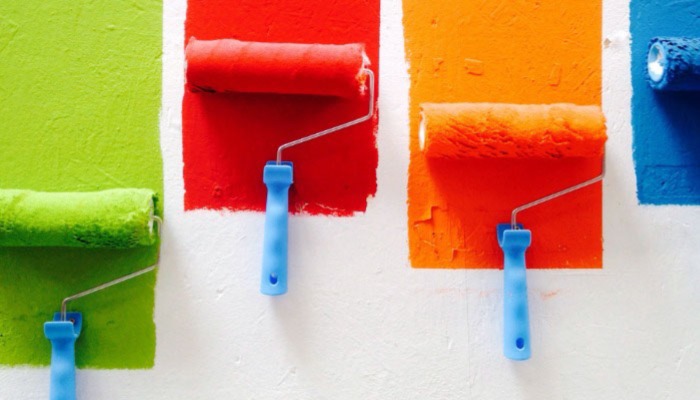
- Variety of Designs: Homeowners can alter the appearance of their garage floor by choosing from a variety of colors, patterns, and even decorative chips.
- Slip Resistant: Epoxy is naturally glossy, but it can be combined with additives to provide a surface that is non-slip, which is useful in a garage situation where spills are frequently seen.
- Easy to Clean: Epoxy flooring is seamless, making it simple to sweep and clean. Spills and stains can be removed with ease by wiping.
- Seals and Protects the Floor: Concrete is sealed with epoxy to keep out moisture, dust, and other outside elements.
- Resistant to Moisture: Epoxy flooring acts as a moisture-resistant barrier in garages, which helps stop potential damage or the formation of mold. Garages are frequently exposed to moisture.
- Enhances Visibility: Because epoxy is reflective, it can help make your garage more visible by reflecting light off the floor.
- Cost-Effective: When compared to other garage floor coatings, epoxy flooring is quite inexpensive, particularly when taking into account its toughness and lifespan.
- Chemical Resistant: Epoxy flooring is relatively affordable when compared to other garage floor coatings, especially when you consider how durable and long-lasting it is.
- Environmentally Friendly: Because they use less material than other flooring options, epoxy coatings are a green option for your garage.
- Temperature Resistance: Because epoxy floors can tolerate temperature changes, they are appropriate for garages that go through various seasonal changes.
- Quick Installation: Epoxy floors may be applied swiftly and effectively with the correct preparation.
Stress Free Epoxy in Scottsdale highlights that adding epoxy flooring to your garage can significantly boost durability, resist stains from oils and chemicals, and simplify cleaning. This upgrade not only enhances the appearance of your space with a variety of customizable colors and finishes but also increases the value of your property. With its strong resistance to wear and tear, an epoxy garage floor can endure the demands of daily use, providing a long-lasting, practical solution for any garage. Especially when looking at the cost to epoxy a garage floor.
Ok, so now you know the benefits of adding epoxy flooring to your garage floor, it's time to actually get to work!
How to Add Epoxy Flooring To Your Garage Floor
Don't over think this! DIY projects like adding epoxy flooring to your garage floor can be a simple and straightforward process. But first things first, let's gather the epoxy materials and epoxy tools needed to get this project completed correctly. Below, find the materials needed to easily add epoxy flooring to your garage floor.
Now that you have the epoxy materials and tools, let's move to the fun part- actually adding epoxy flooring to your garage floor. Follow the simple epoxy steps below and you'll be finished in no time.
Clean the Garage:
- Remove everything from the garage to access the entire floor.
- Sweep away any debris using a broom and a wet-dry vacuum.
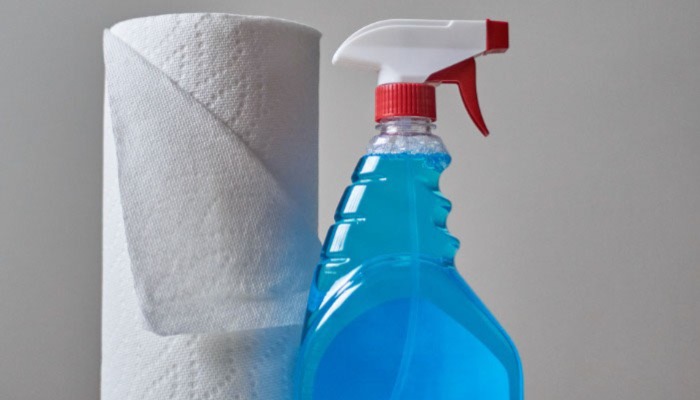
Clean & Degrease the Floor:
- Using a concrete cleaner or degreaser, scrub the floor thoroughly to remove oil, grease, and other contaminants.
- Rinse thoroughly and let it dry. A wet-dry vacuum can be used to remove excess water.
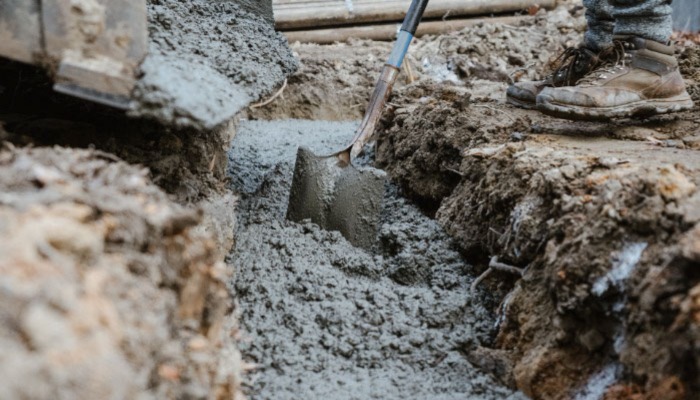
Repair Cracks & Imperfections:
- Identify any cracks, holes, or imperfections in the concrete.
- Use a concrete patch and repair kit to fill and seal these imperfections. Allow it to cure as per the product's instructions.
Etch the Floor:
- Wet the floor with water.
- Apply a concrete etching solution, which will create a slightly porous surface for better epoxy adhesion. Follow the manufacturer's instructions.
- Rinse the floor thoroughly after etching, ensuring all the etching solution is removed. Use a wet-dry vacuum to help remove excess water.
- Allow the floor to dry completely, which may take 24 hours or more.
Mix the Epoxy:
- Epoxy usually comes in two parts: a resin and a hardener. In a separate container, mix them together according to the manufacturer's directions.
- Allow the mixture to sit for the recommended induction time (usually a few minutes).
Apply the Epoxy:
- Start at a corner farthest from the exit and work your way toward the door.
- Using a brush, edge the perimeter of a small section.
- Pour a manageable amount of epoxy onto the floor and spread it with a roller. Use smooth, overlapping strokes.
- Continue this process, working in sections until the entire floor is covered.
Add Decorative Chips (Optional):
- If you're using decorative chips, sprinkle them onto the wet epoxy. You can use a hopper gun or sprinkle by hand, depending on your desired density.
Allow to Dry:
- Let the epoxy cure for the time specified by the manufacturer. Typically, you should avoid walking on it for at least 24 hours and avoid driving on it for at least 72 hours.
Apply a Top Coat (Optional):
- If you want added protection and shine, apply a clear epoxy or urethane top coat after the base layer has cured.
- Mix and apply the top coat following the manufacturer's instructions.
- Allow the top coat to cure according to the recommended time.
Ventilation:
- Ensure the garage is well-ventilated throughout the process to dissipate fumes and aid in drying.
Final Notes:
- Return items to the garage only after the floor has fully cured.
- Remember to periodically check and maintain the epoxy floor, cleaning spills promptly and avoiding dragging sharp or heavy objects.
Conclusion
This amazing epoxy DIY project of adding epoxy flooring to your garage floor checks both boxes of being very rewarding and a DIY project that can be completed over Memorial Day weekend. As long as you have the epoxy supplies you need and follow the steps above, your finish this project successfully.